
This is really easy, I promise!
(Yup, that is my husband in the picture. He's working on a coat for our daughter. You gotta love a man who is secure enough in his masculinity to sew. He would want you to know, though, that he also fixes sewing machines and does manly things like run electricity, install flooring, and dispose of any dead squirrels our cat brings us. It's all about balance.)
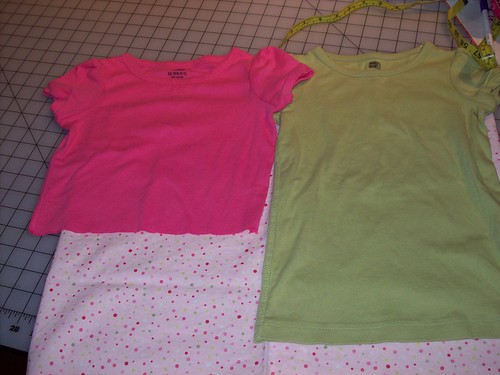
First, gather your materials. You need a tee shirt, about 1/2 a yard of fabric, and the usual notions: pins, iron, marking pen, tape measure, scissors.
Measure the tee shirt against the intended recipient. Does it end past their waist? You may need to cut it off a bit. Don't get too happy with the scissors, you can always cut more off. Aim for where you'd like the top part to end plus about an inch for the seam allowance. The pink shirt was already cut, I added the green for comparison's sake.
To determine how to cut your fabric, measure your recipient from their shoulder to where you'd like the dress to end. Subtract the length of the tee shirt. Add 3. (The three inches break down into 2 added inches for the hem plus one inch at the top for a seam allowance.) Cut the fabric from salvage to salvage. The salvages are the sides of the fabric that are woven and not frayed. When you bought the fabric, they cut it from salvage to salvage. Try to cut straight because it will really simplify your hemming later. For little girls to age 6 or so, a fabric width of 44 inches (which is salvage to salvage) is enough.
Now we're going to sew! Fold the skirt piece in half, right sides of the fabric together so that you are looking at the back of the fabric (not the patterned part). Match up the salvages. Sew it together using at least a 1/2 inch seam allowance, but also make sure that it's wide enough to have the entire salvage to the right of the needle. Unfortunately my camera pooped out so I don't have a picture of this step.
When you sew a seam, sew forward about an inch, then sew backward, and then sew forward to the end of the seam. At the end, sew backward about an inch, then forward to the end of the fabric. This secures the seam.
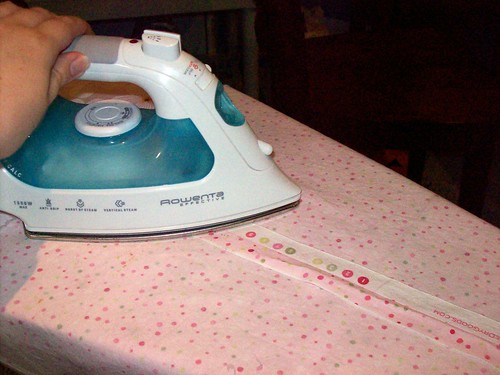
Press the seam open.
Good job! You're done with part I! Next up is gathering...
No comments:
Post a Comment